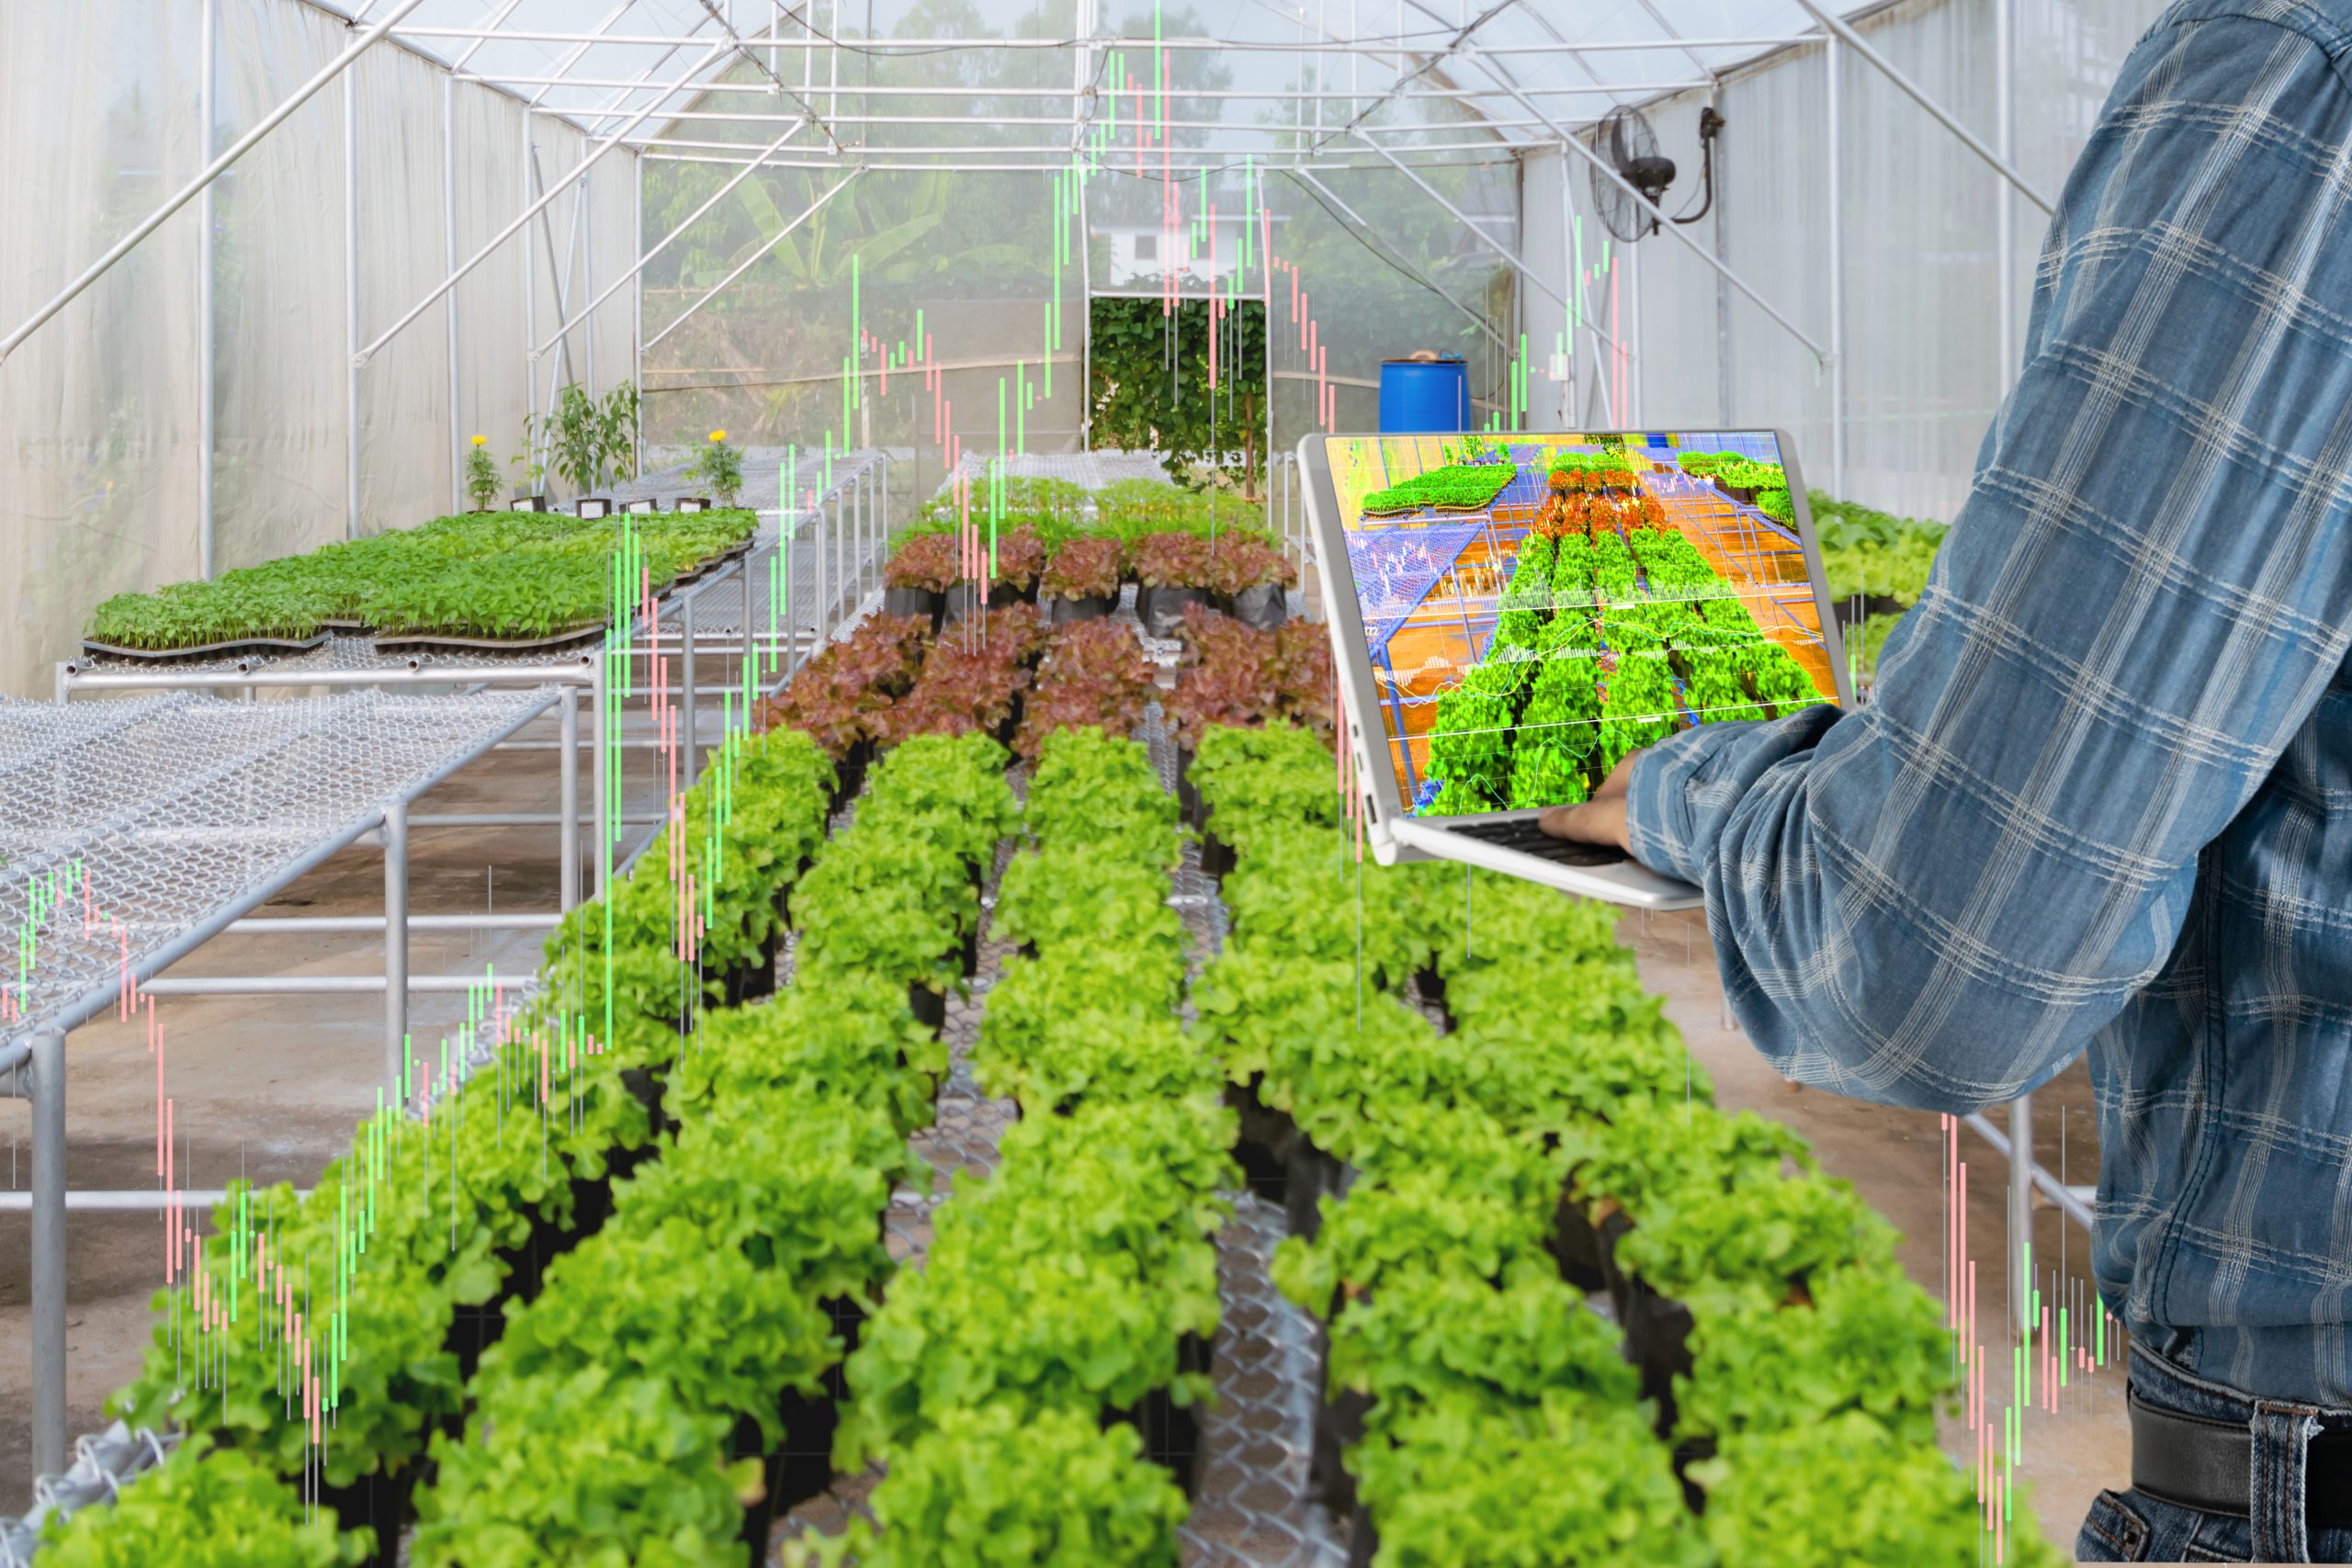

Creating a smart garden can seem like a daunting task, but with the right guidance, it can be a rewarding and enjoyable project. Not only does a smart garden save time and resources, but it also provides a more controlled environment for your plants to thrive. This DIY guide will take you through the steps to set up your own smart garden, from planning and installation to maintenance and troubleshooting.
Planning Your Smart Garden
Before diving into the setup, it’s crucial to plan your smart garden carefully. Consider your garden’s needs, the available space, and your budget.
Assessing Your Garden Space and Needs
- Garden Size: Determine the size of your garden to decide on the scale of smart technology needed.
- Plant Types: Different plants have different requirements; consider which plants you want to grow.
- Climate and Soil: Understand your local climate and soil conditions to choose the right smart devices.
Choosing the Right Smart Garden Components
- Irrigation Systems: Select a system based on your garden size and water requirements.
- Soil Sensors: Choose sensors that provide data on the most relevant soil parameters.
- Lighting: Decide if you need smart lighting for aesthetics, plant growth, or both.
- Additional Gadgets: Consider other tools like weather stations, cameras, and garden apps.
Budgeting for a DIY Smart Garden Project
Create a budget that covers all necessary components. Research different brands and products to find options that fit your financial plan without compromising quality.
Setting Up Smart Irrigation
A smart irrigation system is a cornerstone of a smart garden. It ensures your plants get the right amount of water without waste.
Step-by-Step Guide to Installing a Smart Irrigation System
- Choose Your System: Select a system compatible with your garden size and type.
- Install the Controller: Mount the controller near a power source and connect it to your Wi-Fi network.
- Place the Sensors: Install soil moisture sensors in strategic locations throughout your garden.
- Connect the Valves: Attach smart valves to your existing irrigation lines.
- Program the System: Use the app to set up watering schedules based on sensor data and weather forecasts.
Tips for Selecting the Right System for Your Garden Size
- For small gardens, consider simple systems with fewer zones.
- For larger gardens, look for systems that support multiple zones and have expandable options.
DIY Smart Irrigation Kits and Tools
- Rachio Smart Sprinkler Controller: Easy to install with intuitive app controls.
- Rain Bird ST8: Offers flexible scheduling and remote access.
Installing Smart Soil Sensors
Smart soil sensors provide critical data on soil conditions, helping you maintain a healthy garden.
How to Place and Set Up Smart Soil Sensors
- Select Sensor Locations: Identify key areas in your garden that represent different soil conditions.
- Install the Sensors: Insert sensors into the soil according to the manufacturer’s instructions.
- Sync with Mobile Apps: Connect sensors to their respective apps to start receiving data.
Tips for Syncing Sensors with Mobile Apps
- Ensure sensors are within range of your Wi-Fi network.
- Follow the app’s setup wizard for a smooth installation process.
Troubleshooting Common Issues
- Connectivity Problems: Check Wi-Fi signal strength and ensure devices are within range.
- Inaccurate Readings: Recalibrate sensors according to the manufacturer’s guidelines.
- Battery Life: Regularly check battery levels and replace batteries as needed.
Adding Smart Garden Lighting
Smart garden lighting enhances the beauty and functionality of your garden, and is relatively simple to install.
Designing a Lighting Plan for Your Garden
- Pathway Lighting: Illuminate walkways for safety and aesthetics.
- Accent Lighting: Highlight focal points like statues, water features, or plants.
- Functional Lighting: Provide sufficient light for tasks like evening gardening or outdoor dining.
Installing Smart Lights: Step-by-Step Guide
- Choose Your Lights: Select weatherproof smart lights suitable for outdoor use.
- Install the Lights: Position lights according to your design plan and secure them in place.
- Connect to Power: Plug in lights and connect to your Wi-Fi network.
- Set Up the App: Use the app to program lighting schedules and settings.
Integrating Smart Lights with Home Automation Systems
- Compatibility: Ensure your smart lights are compatible with your home automation system (e.g., Alexa, Google Home).
- Voice Control: Set up voice commands for convenient control.
- Automation: Create routines that adjust lighting based on time of day or specific events.
Using Smart Garden Apps
Smart garden apps are essential for managing and monitoring your smart garden.
Overview of Must-Have Smart Garden Apps
- Gardenize: Track plant care, plan tasks, and keep a garden journal.
- SmartPlant: Access a vast plant database and receive personalized care advice.
How to Set Up and Use Garden Management Apps
- Download and Install: Get the app from your device’s app store.
- Create an Account: Register and set up your garden profile.
- Add Devices: Connect all your smart garden devices to the app.
- Monitor and Control: Use the app’s features to monitor conditions, schedule tasks, and receive alerts.
Customizing App Settings for Your Specific Garden Needs
- Notifications: Set up alerts for watering, fertilizing, and other tasks.
- Schedules: Create custom schedules for irrigation and lighting.
- Data Tracking: Monitor plant growth and health over time.
Enhancing Your Smart Garden with Additional Gadgets
Beyond the basics, there are several additional gadgets that can further enhance your smart garden experience.
Optional Smart Garden Gadgets
- Weather Stations: Provide real-time weather data to adjust gardening practices.
- Garden Cameras: Monitor your garden remotely and deter pests.
- Automated Greenhouses: Control temperature, humidity, and ventilation for optimal plant growth.
How These Gadgets Can Further Enhance Your Garden Experience
- Weather Stations: Adjust watering schedules based on accurate local weather data.
- Garden Cameras: Keep an eye on your garden and protect it from unwanted visitors.
- Automated Greenhouses: Maintain ideal growing conditions with minimal manual intervention.
Installation and Integration Tips
- Weather Stations: Place in an open area away from obstructions.
- Garden Cameras: Install at strategic points for the best coverage.
- Automated Greenhouses: Ensure compatibility with your smart system and follow installation guidelines.
Maintenance and Upkeep of a Smart Garden
Keeping your smart garden in top condition requires regular maintenance and occasional updates.
Regular Maintenance Tasks for Smart Garden Systems
- Irrigation Systems: Check for leaks, clean filters, and test sensors.
- Soil Sensors: Recalibrate periodically and replace batteries.
- Lighting: Clean fixtures and check connections.
Seasonal Adjustments and Updates
- Spring: Prepare your smart systems for the growing season.
- Summer: Monitor for heat stress and adjust watering.
- Fall: Reduce watering and prepare for cooler temperatures.
- Winter: Protect devices from freezing and store removable sensors indoors.
Tips for Keeping Your Smart Garden Running Smoothly
- Software Updates: Regularly update apps and firmware for the latest features and fixes.
- Routine Checks: Perform monthly checks to ensure all devices are functioning correctly.
- Stay Informed: Keep up with new technology and best practices in smart gardening.
Conclusion
Creating a DIY smart garden can transform your gardening experience, making it more efficient, sustainable, and enjoyable. By following this guide, you can set up a smart garden tailored to your needs, ensuring your plants thrive with minimal manual effort. Embrace the future of gardening with smart technology, and watch your garden flourish.